 |
Yours should not be this tapered
up top |
Hi all! First of all, link props! Template to create my cone (the one I used was from FloraCraft and had a 5.8" height and a 2.9" base diameter).
https://www.blocklayer.com/cone-patternseng.aspx
And, the inspiration for her carrot, primarily from this tutorial:
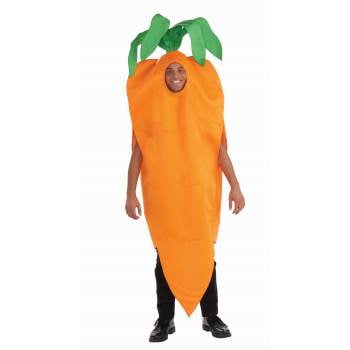
https://makeit-loveit.com/diy-carrot-costume-fun-for-any-age-plus-one-to-give-away. I toyed with the idea of the top of the carrot covering her head, a la this poor guy-->, but she decided against it. I think a wise choice for a tween! In any case, I used a shirt dress to make the pattern, changing the hemline to approximate a carrot. I would suggest not tapering yours as fast as I did, because it became a bit form-fitting once I pinned the two sides together. So, perfect cylinder from the shoulders to past hips, and THEN start to taper.
 |
| pinned to check fit |
 |
After sewing, it became
thinner in the middle |
Creating the lines across the front and sewing the two sides together probably took less than an hour. Cleaning the sewing machine, which has been subjected to many ceiling collapses, took another 20 minutes, plus drying time. Ugh.
 |
Added extra because paper
template was snug |
 |
| cone, awl and greens |
The headpiece had me stymied for a while. I bought 8.5x11" sheets of lime green felt and painstakingly cut fronds that I had intended to attach to wire to fashion the long, upwards carrot top, but my test run had too many problems: first, I didn't have wire strong enough to hold the felt upright, and secondly, I didn't see how I'd be able to paint any kind of metal to be green. I bought some extra long, neon green pipe cleaners, and singly and doubly they were also not strong enough.

I went to Michael's, however, to pick up a button or some fastener that I could use to zhush up the neckline, which would have an orange felt scarf with green stripes pinned to the side. Somehow I ended up with a styrofoam cone and some greenery. Using a template maker, I transferred the pattern to the green felt, but before I did so I put the paper template around the styrofoam, and it was a bit snug, so I extended the lines out on the felt. The awl was used to start a pilot hole in the top of the cone. I didn't need to even glue the greens in, it was so snug. The felt was then hot glued to the sides of the cone.


Now, how to get this onto her head. She had a baseball cap, that was custom painted by a friend, but I had the pipe cleaners, and baseball caps have eyelets in each section, so I twisted and hot glued and covered it all with the lime green felt fronds from my aborted mission, so nothing went to waste! An orange shirt and pants from Salvation Army, and, all-in-all, a great costume. She was being called from across the street while trick or treating. It is a distinctive costume from far away, in the dark! And, it was a
windy night, but warm, and the hat stayed on, for the most part. Success!


 I went to Michael's, however, to pick up a button or some fastener that I could use to zhush up the neckline, which would have an orange felt scarf with green stripes pinned to the side. Somehow I ended up with a styrofoam cone and some greenery. Using a template maker, I transferred the pattern to the green felt, but before I did so I put the paper template around the styrofoam, and it was a bit snug, so I extended the lines out on the felt. The awl was used to start a pilot hole in the top of the cone. I didn't need to even glue the greens in, it was so snug. The felt was then hot glued to the sides of the cone.
 Now, how to get this onto her head. She had a baseball cap, that was custom painted by a friend, but I had the pipe cleaners, and baseball caps have eyelets in each section, so I twisted and hot glued and covered it all with the lime green felt fronds from my aborted mission, so nothing went to waste! An orange shirt and pants from Salvation Army, and, all-in-all, a great costume. She was being called from across the street while trick or treating. It is a distinctive costume from far away, in the dark! And, it was a windy night, but warm, and the hat stayed on, for the most part. Success!


0 comments:
Post a Comment