|
| It's sad that I look at this and think "Cool, Mom". |
My Pinterest board is choked with girls' birthday party decor, because I love crafting Tootie Pie's birthdays. The cake, being the centerpiece of the day, was the origin of all this looniness, since I made a Care Bear cake for her third birthday. My husband, dull as he is, when he was prodded for praise on my glorious concoction, replied " you just copied it from the internet", as if there's a button for creating a Care Bear cake. Four years ago and I'm still harboring resentment.
Her fourth birthday was celebrated at school, and I made a poorly documented Rainbow Leprechaun Trap cake. Her classmates loved it, since there was a story behind it and, of course, a leprechaun trapped inside under the gold coins. How cute! For her fifth, the Princess Castle cake, which I think was the pinnacle of my cake making days. For her sixth, a store bought pink cake that I tarted up with fondant flowers and a
fondant Hello Kitty! And, for this birthday, the shell cake.
 |
Please notice the shell chair she's sitting on. Thank goodness
I'm a teacher and have gallon bottles of glue and glitter coming
out my ears! |
Making cakes is kind of like giving birth; you forget how painful it is, so that you'll foolhardily repeat the process. It takes hours, nay, days to make, and mere moments to disappear. But, I know I will someday miss the days when my Tootie Pie would dream up her theme, and I'd research and improvise and stress and in the end, make her dream come true. If the rest of her dreams were so easily achieved!
I followed
this tutorial closely, just adding the mermaid detail, and crafting the top shell out of Rice Krispie treats instead of another cake on cardboard. The mermaid was a doll from Tootie Pie's collection, who just happened to have pink hair; I removed her legs with a hot knife (she was hard plastic), and added a fondant tail. To the cake dish I added brown sugar "sand" and pink and white chocolate shells to complete the look. Each guest got Rice Krispie treats, cake, and chocolate. Sugar fest!
The gallery of Birthday Cakes Past:
 |
The cake that started it all: her third birthday
"Chris" cake - she loved the Care Bears
because her cousin gave her the plush version
but she'd never seen the show. Hence, this
was "Chris" instead of Cheer Bear or
Whoever. |
 |
Her fourth birthday I made a rainbow leprechaun surprise
cake. The sign was to trap the leprechaun inside with a
promise of gold. Her classmates were intrigued by the premise. |
 |
| A shot of the inside rainbow. And a goofball. |
 |
| This was probably the greatest of all my cakes, for her fifth birthday. |
 |
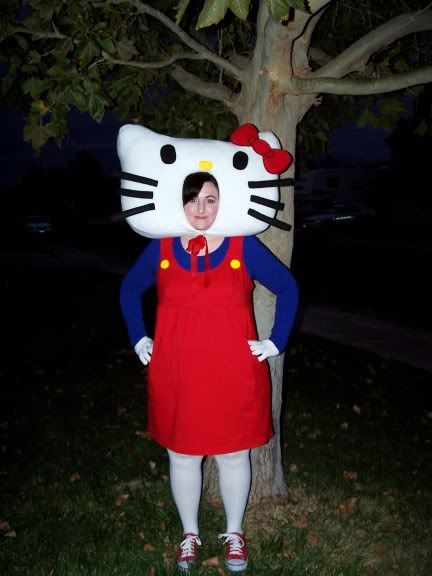
| Six was a Hello Kitty theme. |
 |
| Who knows what next year will bring? |

 Not much of a tutorial, just ideas for making a 50's outfit. I made the skirt by sewing a rectangular piece of felt around 1 inch from the top and feeding through a pieced of elastic. The best part about felt is you don't need to hem. I stitched up the two ends of the rectangle and pulled the elastic so it fit nicely on Tootie Pie's waist. The poodle template came from this website, so I cut it from felt and then added eyes and a mouth with puffy paint. The leash and the poodle were applied with fabric glue, and that was the end of the skirt!
 Then I took Tootie Pie's jazz shoes that were almost too tight, since there was no chance they would fit her next dance season and therefore it didn't matter if I made a mess of them. I covered the edges and soles with painter's tape and sprayed with spray paint. Then, using a photo of saddle shoes from the internet, I painted a black stripe and she had saddle shoes. If these were going to be used more than once, I would have applied a clear coat to them, but this was a one-off affair, so I skipped that. A cardigan, some bobby socks and a scarf in the hair, and she was ready to rock around the clock.